
Crimson Moon Boss fights and tips
Dead Gods, phase transitions, and how to survive the ward.
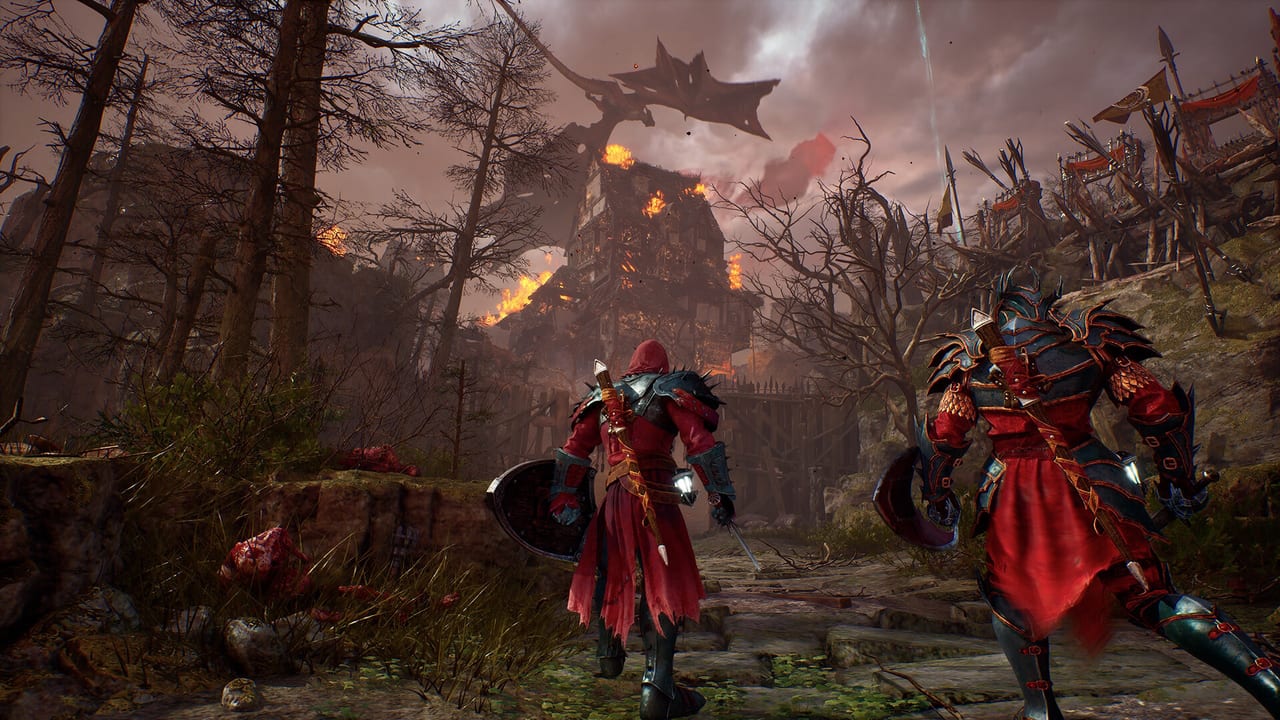
Every district in Gildenarch ends with a ward boss. These encounters are the moments Crimson Moon asks you to demonstrate everything you learned about combat, timing, and resource management. This guide covers what to expect from boss fights, how to read their patterns, and practical strategies for the most dangerous encounters in the game.
How Boss Fights Work
Boss encounters in Crimson Moon are single-phase or multi-phase battles that take place in a closed arena. Unlike regular enemies, bosses have extended attack sequences, multiple health phases, and area-denied mechanics that force movement.
The arena layout matters. Most ward bosses have environmental hazards — collapsed pillars, Hellgrowth tendrils, cursed ground — that add a second layer of avoidance beyond the boss’s own attacks.
Boss health is displayed as a segmented bar. Each segment typically represents a phase with a distinct move set or environmental change. When a boss transitions phases, it often creates an opening for a heal or a consumable use.
Reading Boss Patterns
Every boss in Crimson Moon has readable telegraphs before their attacks. The key signals:
Stance shifts. A boss that raises both arms is preparing an unblockable slam. A boss that lowers their weapon and pulls back is setting up a heavy thrust. Watch for the 0.3 to 0.5 second wind-up that precedes every meaningful attack.
Audio cues. Hellgrowth creatures vocalize before charges. Vampire bosses hiss before lunges. Dead Gods emit a low rumble before ground slams. Audio is not decoration — it is a targeting system.
Camera framing. The game camera pulls back slightly when a boss is about to use an area attack. This is your signal to identify the radius and move.
Phase Transitions
Multi-phase bosses change behavior when you deal enough damage to a health segment. Common transition triggers:
- Boss drops to 50% health: New attack patterns unlocked, environmental hazard activates.
- Boss drops to 25% health: Enrage mode — faster attacks, reduced recovery windows.
- Specific health threshold: Some bosses have scripted transitions that occur at exact health values regardless of damage timing.
Phase transitions are safe healing windows. The boss is invulnerable for approximately 1-2 seconds during the animation. Use this window to heal if you are below 50% health.
The Dead Gods
Dead Gods serve as the ultimate boss encounters in Crimson Moon. Each Dead God has a thematic domain tied to the district they occupy.
Abraxas, the Hollowed Mind guards the Archspire Cathedral. Phase one focuses on psychic projectiles and summoned undead adds. Phase two creates a ground-of-corruption mechanic that forces constant movement.
Moloch, the Iron Tide commands Ramshorn Keep. This boss uses formation-based Legion adds in phase one and switches to heavy armor ignore attacks in phase two.
Lilith, the Crimson Veil stalks Shoreditch Prison. She teleports between phases and uses vampire spawn adds. The arena is the smallest of the three, which amplifies the danger of her teleport charges.
Solomon Moore
Solomon Moore is the named vampire lord and the overarching antagonist of Crimson Moon. His encounter is a multi-phase boss fight that tests every system you have learned: parrying, execution windows, consumable timing, and Angel Mode management.
His attack pattern cycles through three modes: melee focus, ranged assault, and summoning. In melee focus mode, he chains sword combos that demand perfect parries. In ranged mode, he throws bone projectiles in patterns you must weave. In summoning mode, he calls vampire spawn adds that you must clear or kite.
The transition between modes is your heal window. When Solomon raises his sword and the arena glows red, he is about to switch modes. Use the 2-second invulnerability to heal or buff.
Hellgrowth Abominations
Not every major enemy is a named boss. Hellgrowth abominations serve as mini-bosses in certain mission variants. They are larger, hit harder, and have regenerating health pools that require sustained damage to defeat.
Hellgrowth abominations are vulnerable to fire-based Weapon Arts and Boons. If your build does not have fire options, focus on stagger — their poise is lower than the named Dead Gods.
Practical Boss Tips
Stay close. Ranged Weapon Arts are useful, but most boss damage comes from melee sequences. A close-range fighter who can land 3-4 hits and dodge out is more efficient than a ranged build that pokes and repositions.
Two-hit maximum. After landing two hits on a boss, expect a counterattack. Three hits invite a punish that costs more health than the third hit deals.
Save consumables for transitions. The healing window during phase transitions is the safest moment to use a consumable. Using it mid-combo risks interruption.
Use Angel Mode deliberately. Angel Mode is not an panic button. It is a phase-skip tool. Save it for the enrage phase or when the boss has a health segment you cannot fairly damage in mortal form.
Practice the first hit. Every boss encounter begins with a brief dialog or cutscene. Use this time to position yourself. Do not waste the opening on a panic roll.
Frequently Asked Questions
Q: Can I summon co-op partners for boss fights?
Yes. Two-player online co-op works on all boss encounters. The boss health scales for two players. Coordinate with your partner: one holds aggro while the other deals damage.
Q: Do bosses respawn if I leave the area?
Yes. Leaving the mission area resets all enemies including bosses. If you need to step away, use the pause menu rather than exiting the mission.
Q: What is the best build for boss fights?
A balanced build with stamina management and a high-damaging Weapon Art is most effective. The shield knight identity is reliable for learning patterns. The two-hand executioner identity deals the fastest phase damage.
Q: Are there shortcuts in boss arenas?
No. Ward boss arenas are single-room encounters with no shortcuts. You must clear all enemies in the district to reach the boss door.
Q: Can I fail a boss fight permanently?
No. Boss fights do not have a fail state. If both players die, you respawn at the last checkpoint with one less life in your shared pool. The mission continues until you complete the encounter or exhaust all lives.
Frequently Asked Questions
Quick answers before you enter Gildenarch.
What is the hardest boss in Crimson Moon?
Solomon Moore is the final boss and considered the most difficult due to his multi-phase design and mixed attack patterns.
How many boss fights are in Crimson Moon?
Each district ends with a ward boss. There are five districts and five ward bosses plus Solomon Moore as the final encounter.
Can I use co-op for boss fights?
Yes. All boss encounters support two-player online co-op with scaled health and damage.
What is the best time to heal during a boss fight?
Use the phase transition window — the 1-2 second invulnerability when a boss changes phases. This is the safest heal opportunity.