
Crimson Moon Tips and tricks
Thirty seconds of advice that will save you thirty minutes of failed runs.
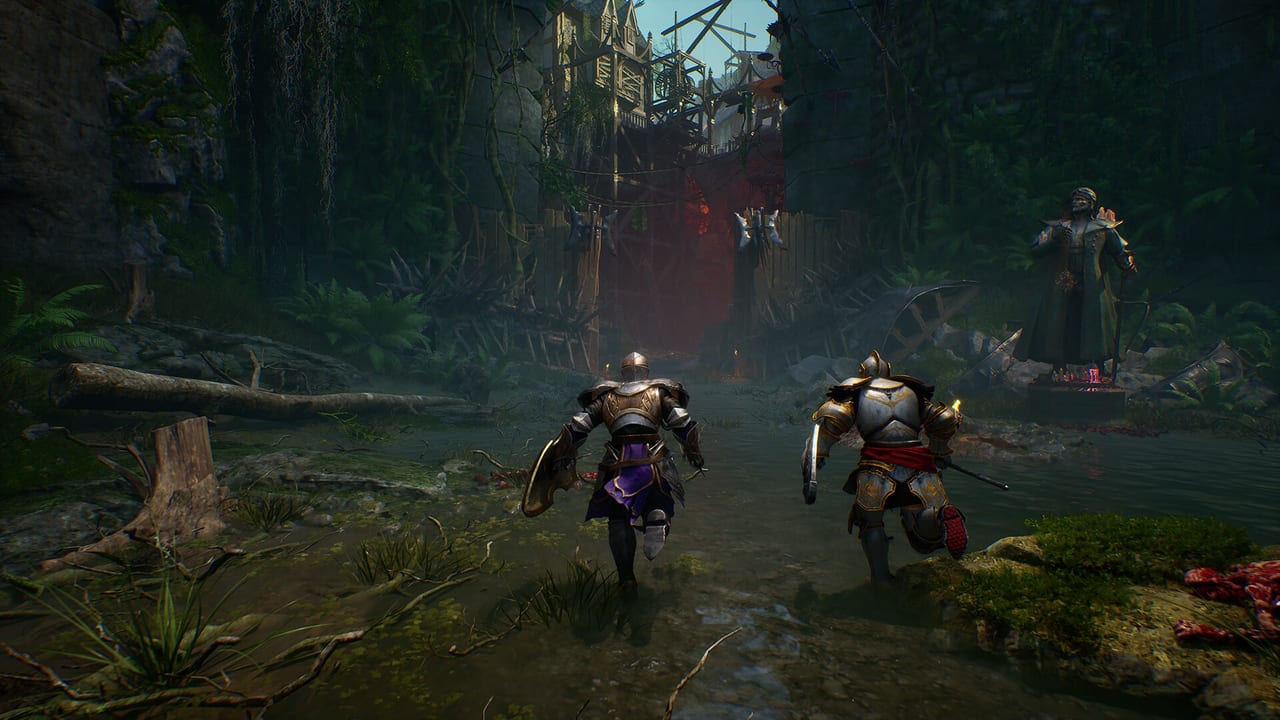
Crimson Moon has systems that take a few hunts to internalize. These are the habits that preview players, community discussions, and guide coverage have identified as the difference between a hunter who clears districts consistently and a hunter who keeps burning lives in the same elite room. This page is the distilled version. Read it before your first hunt.
Stamina is a budget, not a resource
Every dodge, parry, block, and attack costs stamina. Running it to zero mid-fight is how you eat a vampire grab you saw coming. The discipline is to think of stamina as a daily budget, not as something you spend and recover. Before every swing, ask whether you have enough left to parry what comes next. A two-hander that kills an enemy but leaves you at zero stamina is a net loss if the next room has a vampire.
Light attacks cost less stamina than heavy attacks. Heavy attacks are for executions and stagger setups. If you are using heavy attacks in the middle of a pack to feel good about damage numbers, you are paying a stamina tax you do not need to pay.
Parry the tell, not the attack
The parry window in Crimson Moon rewards reading enemy animation over reaction speed. Watch the wind-up, not the swing. Every enemy type has a different tell: a demon wind-up looks different from a vampire wind-up. If you parry the swing, you are already late. If you parry the moment the tell appears, you will consistently land the perfect parry.
There is an achievement for a perfect parry. That achievement was designed for Forsaken Streets. Practice there until the parry is muscle memory before you take it into Ramshorn Keep.
Stack Boons toward one identity
Boons from Nexus Gates and from gear are the mid-run customization layer. The temptation is to pick every Boon that looks like a good number. The correct play is to pick Boons that reinforce the same identity. If your Weapon Art is a projectile, take Boons that reduce art cooldown or improve projectile damage. If your build is a parry-shield, take Boons that reward perfect guards. Random Boon collection is how you end a forty-five minute run with a collage that does not serve any sentence.
Angel Mode is not a panic button
The Angel transformation is one of the most powerful tools in the game. It is also one of the easiest to waste. Using it on the first pack of three zombies because you took a hit and panicked is how you enter the ward boss with an empty gauge and a full health bar. Save Angel Mode for elite encounters and boss phases. The form lasts longer and hits harder when you enter it with purpose.
Angel Mode duration and damage scale with equipment rarity. If you have been neglecting Gajov and running common-rarity gear, your Angel Mode will be shorter and weaker than a hunter who has been investing in rarity. Visit the blacksmith.
Purify with purpose, not greed
Purification is the roguelite half of Crimson Moon. Every hunt you complete returns you to Sanctus Clypeus to permanently add gear to your collection. The temptation is to purify everything that looks rare. The correct play is to purify what you actually used. A common weapon with a Weapon Art you pressed every room is worth more than a legendary weapon whose art you never fired.
After purification, visit Gajov to raise the rarity on pieces you will actually bring into the next hunt. Raising rarity on a museum of pieces you never equip is souls spent on display.
In co-op, your partner’s life is your life
The shared life pool in two-player co-op means a partner death is a shared resource loss. Do not overextend in a way that costs the pool. If your partner is down and the room is still dangerous, the correct play is often to back off and revive rather than to press the attack and join them on the floor.
Complementary builds matter in co-op. Two glass-cannon builds with no shield is a double weakness to vampire grabs. One shield-holder and one art-battery is a formation. Two art-batteries who transform together go mortal together. Stagger your Angel triggers.
Pick up everything from the floor
Loot in Crimson Moon does not auto-collect. Gold, consumables, and materials from fallen enemies need to be picked up manually. Walking past a drop because you are focused on the next room is leaving resources on the floor. These small amounts compound over a full run. A handful of souls here and a consumable there is the difference between being able to afford Gajov’s upgrade after the run and not.
Learn one enemy type’s full pattern before chasing variety
The roster in Gildenarch includes demons, undead, vampires, and Hellgrowth. Each type has a complete attack pattern. The temptation is to face every type and learn nothing deeply. The correct play is to pick one enemy type — preferably the vampire, since it appears in every ward — and learn its full pattern until you can parry it on reaction. That skill transfers. A parry is a parry regardless of which enemy is swinging.
Do not rush harder content before mastering easier content
Forsaken Streets is the teaching ward for a reason. Rushing to Ramshorn Keep or Shoreditch Prison before you can consistently parry a vampire in Forsaken Streets is how you spend twenty minutes in a failed run and learn nothing. Master the lessons of each ward before moving to the next. The difficulty curve is designed to be climbed deliberately, not skipped.
Watch for red attacks
Some enemy attacks glow red. These are unblockable. Do not try to parry or block them. Dodge away. If you see red, roll. This is true in every ward and against every faction. Red is the game’s way of saying this attack will punish your guard.
The Ward Table is part of the preparation
Before every hunt, spend a minute at the War Table. Pick the district that matches the upgrade you need. Higher difficulty means better rewards, but only if you can complete the mission. Do not stack three challenge modifiers on a ward you have never cleared. Find the difficulty where you are challenged but not overwhelmed. Raise it when the current setting feels too easy.
The War Table also shows mission modifiers that change how a ward plays. A modifier that adds extra elite packs to Forsaken Streets is not the same as playing Forsaken Streets without it. Read the modifiers. Factor them into your loadout choice.
Consumables exist to be used
Lottie at Sanctus Clypeus sells consumables for your two pre-hunt slots. Using them is not a sign of failure. Using a bomb on a vampire ambush that would otherwise cost a life is using resources to preserve resources. Dying with two unused consumables because you were saving them is not a win. Treat consumables as part of your kit, not as emergency reserves you never touch.
Frequently Asked Questions
Quick answers before you enter Gildenarch.
What is the most important skill in Crimson Moon?
Parry timing. The perfect parry is the single most impactful action in the game's combat. Watch the wind-up, not the swing.
Should I save Angel Mode for emergencies?
No. Save it for planned moments: elite rooms and boss phases. Entering the form with full health and a clear purpose is how you get maximum value.
How do I know which Boons to pick?
Stack Boons toward your Weapon Art identity. If your art is a projectile, take cooldown and projectile Boons. Random Boon collection is how you waste a forty-five minute run.
What is the most common beginner mistake?
Rushing harder wards before mastering the basics in easier wards. Forsaken Streets teaches parry, stamina, and Angel Mode discipline. Skipping that lesson costs more time than it saves.